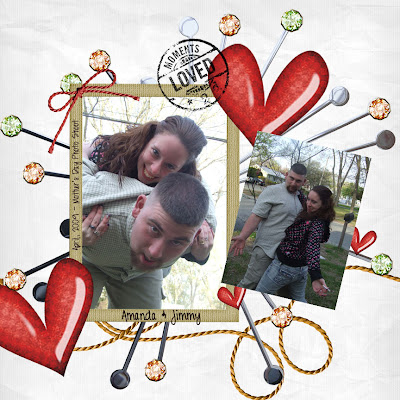
- White paper - although it didn't have to be the background
- More than one photo
- Install and stamp one of the Stamped Moments brushes (these came with the class!!) I am not 100% sure I installed it right, so I will have to look more into that, but I did get the thing on there and was even able to change the opacity :) I almost sound like I know what I'm talking about!
- Anything else was okay!
And that completes Lesson 2! I can't wait to start Lesson 3 and I am already planning on purchasing the next class!

- Flerg's Blaze Kit
- Flerg's Elizzle Skwizzle Kit (try saying that!!)
- Amy Teets' Whitie Tighties papers (yes that's the real name)
- Katie Pertiet Stamped Moments Brush set













3 comments:
CUTE!
I love it...and your blog is so gorgeous! All the little pieces together are amazing :D
Great page Vicki, I LOVE the kit!
Hugs, Jennifer :)
Post a Comment